WSL2+Ubuntu: The Ermine meets the Whale
Introduction
Do you want to install Docker on a brand new WSL2 19.10 distro? Make it available on "boot" via SystemD?
Now it's possible and for the first time, it will be explained as a "fast track". A new series of mini-blogs with (very) few chat and lots of hands-on.
Prerequisites
As "usual", the prerequisites will be:
Ermine has a new home
The first step will be to create a new WSL distro.
In this example, the server version will be the one chosen:
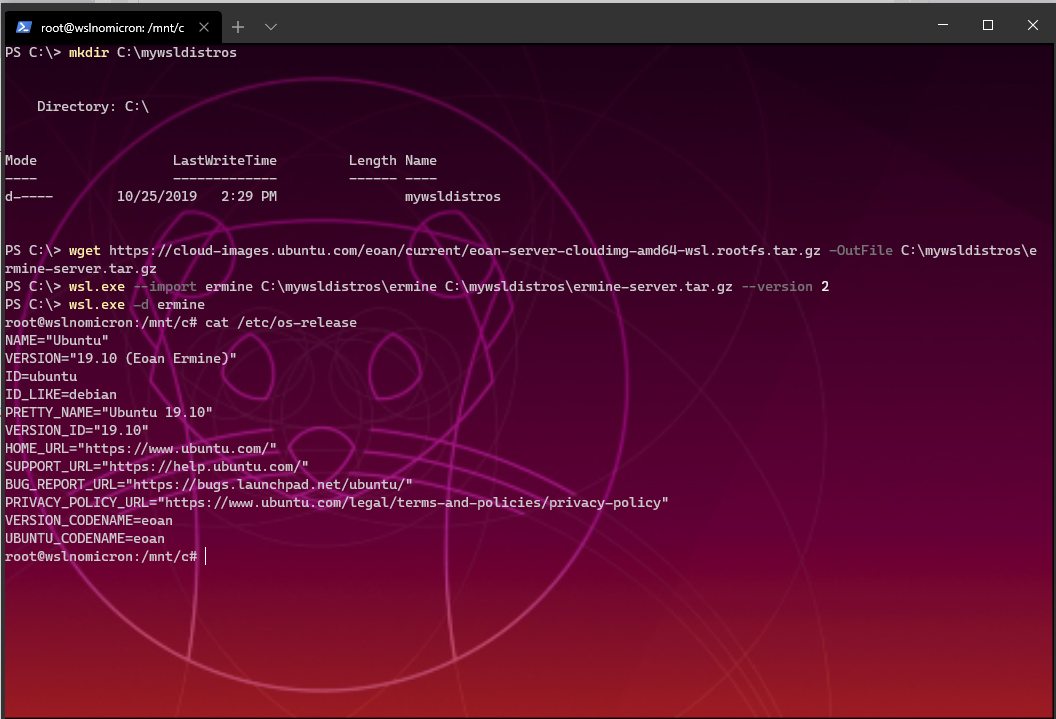
PS> mkdir c:\mywsldistros
PS> wget https://cloud-images.ubuntu.com/eoan/current/eoan-server-cloudimg-arm64-wsl.rootfs.tar.gz -OutFile ermine-server.tar.gz
PS> wsl.exe --import ermine c:\mywsldistros\ermine c:\mywsldistros\ermine-server.tar.gz --version 2
PS> wsl.exe -d ermine
# cat /etc/os-release
System configuration
Let's configure the system by adding our user and systemD:
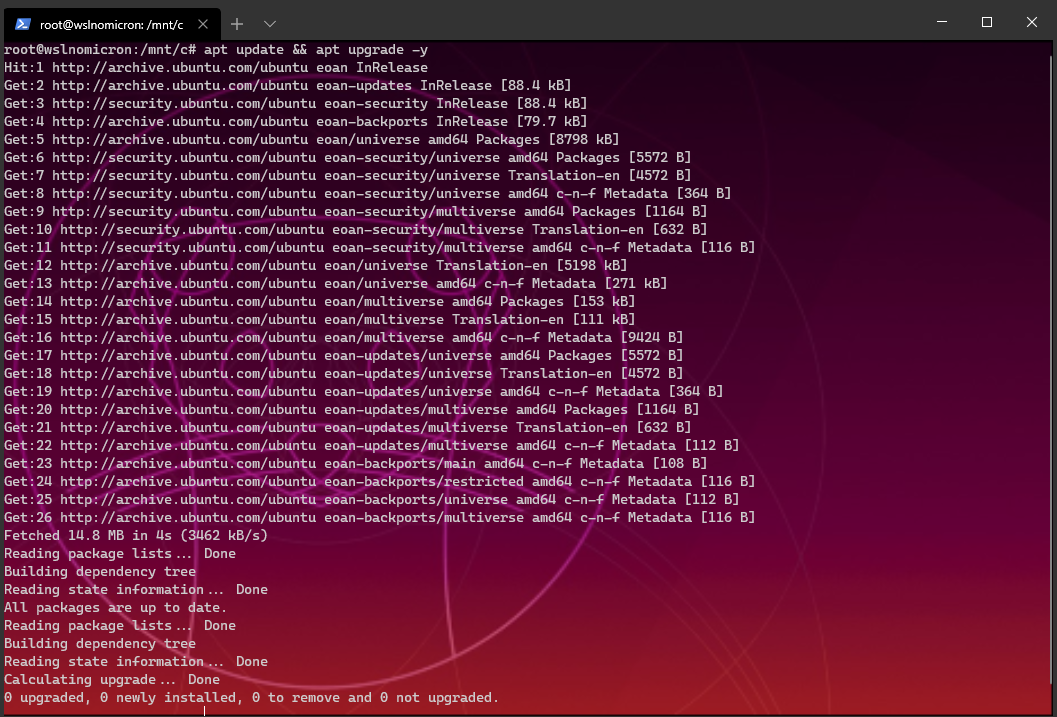
# apt update && apt upgrade -y
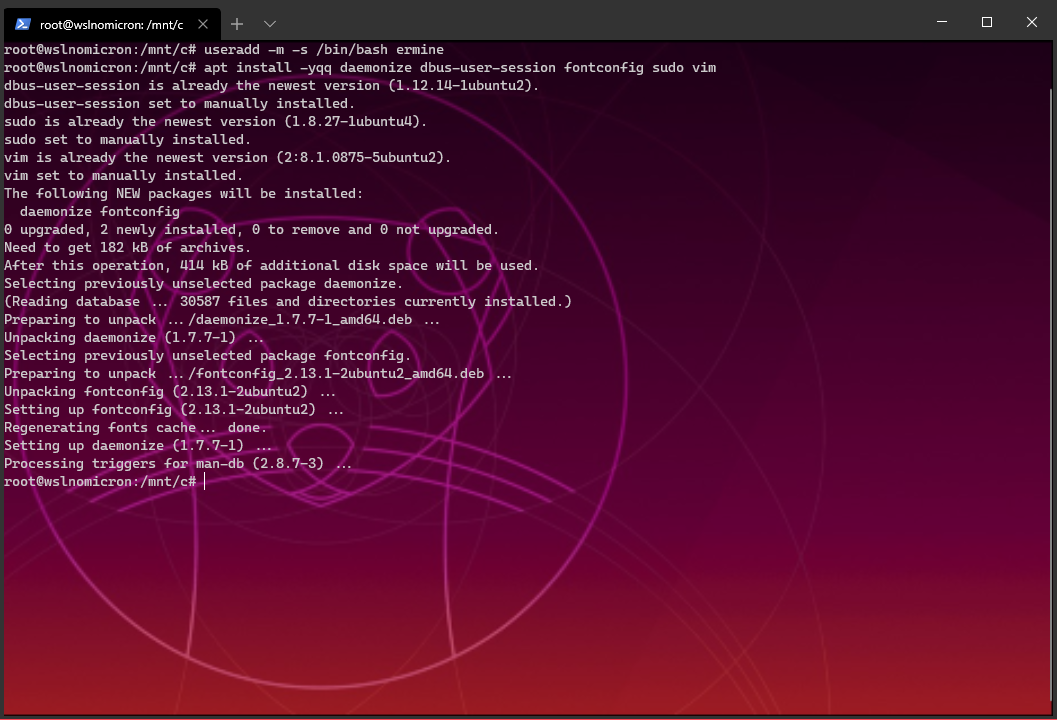
# useradd -m -s /bin/bash ermine
# apt install -yqq daemonize dbus-user-session fontconfig sudo vim
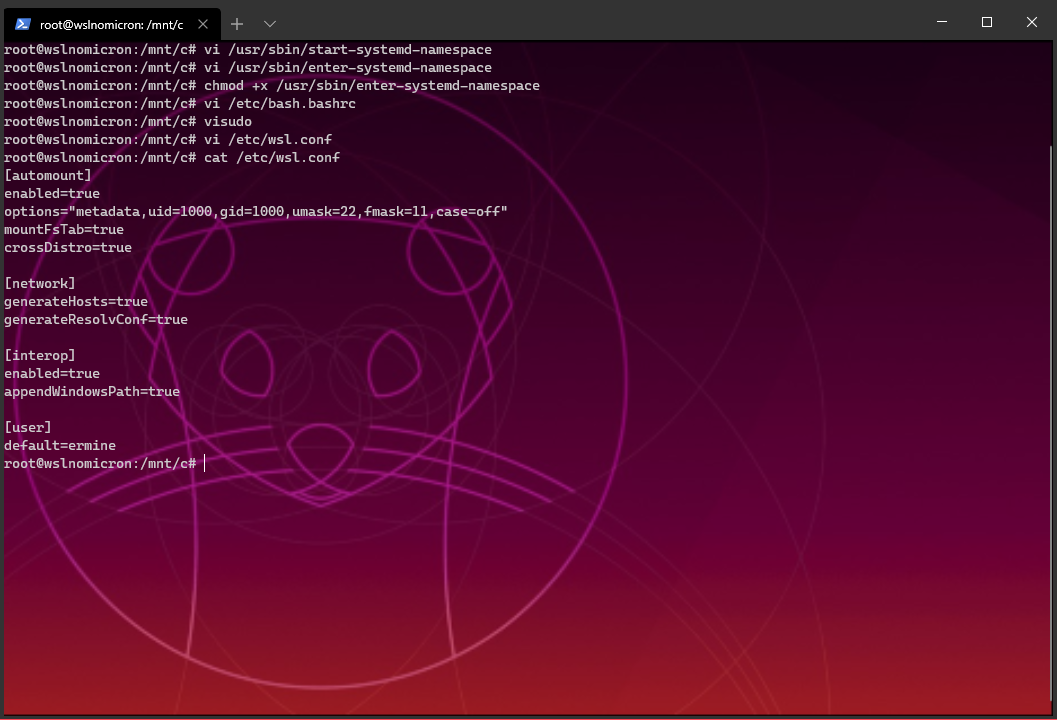
# vi /usr/sbin/start-systemd-namespace
# vi /usr/sbin/enter-systemd-namespace
# chmod +x /usr/sbin/enter-systemd-namespace
# vi /etc/bash.bashrc
# visudo
# vi /etc/wsl.conf
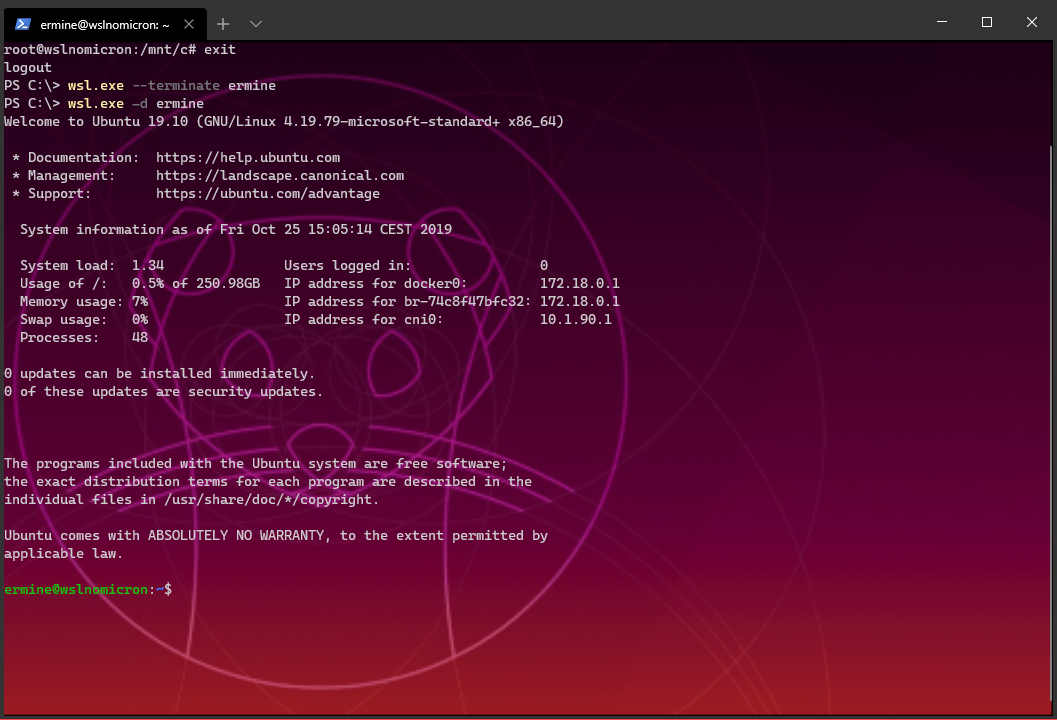
# exit
PS> wsl.exe --terminate ermine
PS> wsl.exe -d ermine
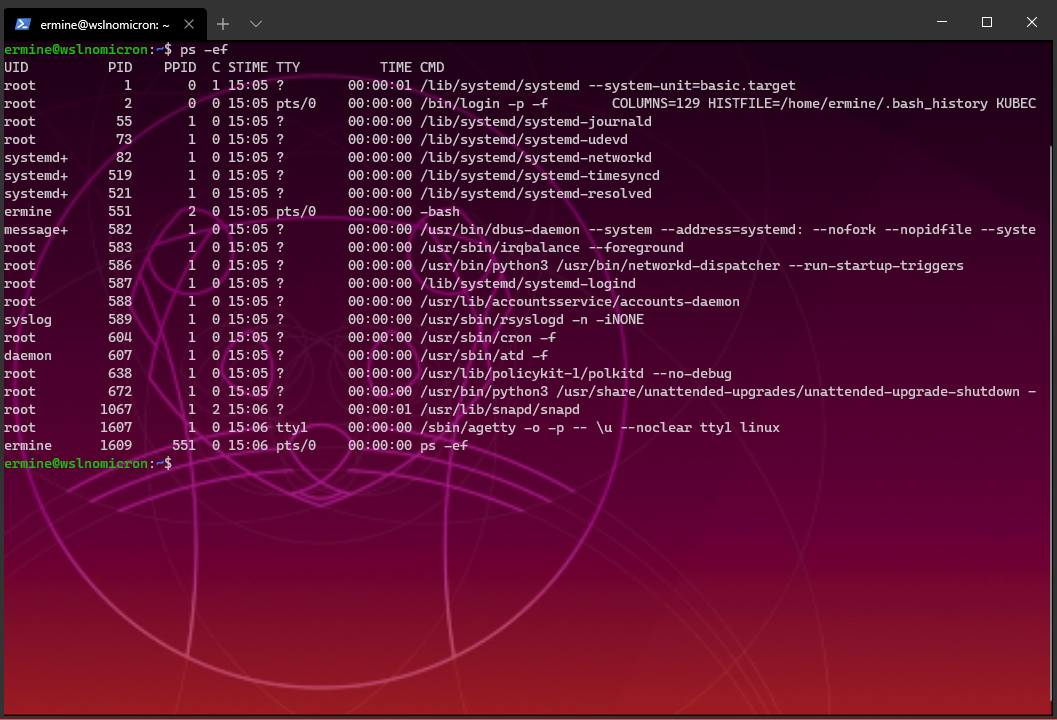
$> ps -ef
The Whale is visiting
As the Docker package does not exist yet for Ubuntu 19.10 (mind the blog release date), the steps below are the "manual" approach:
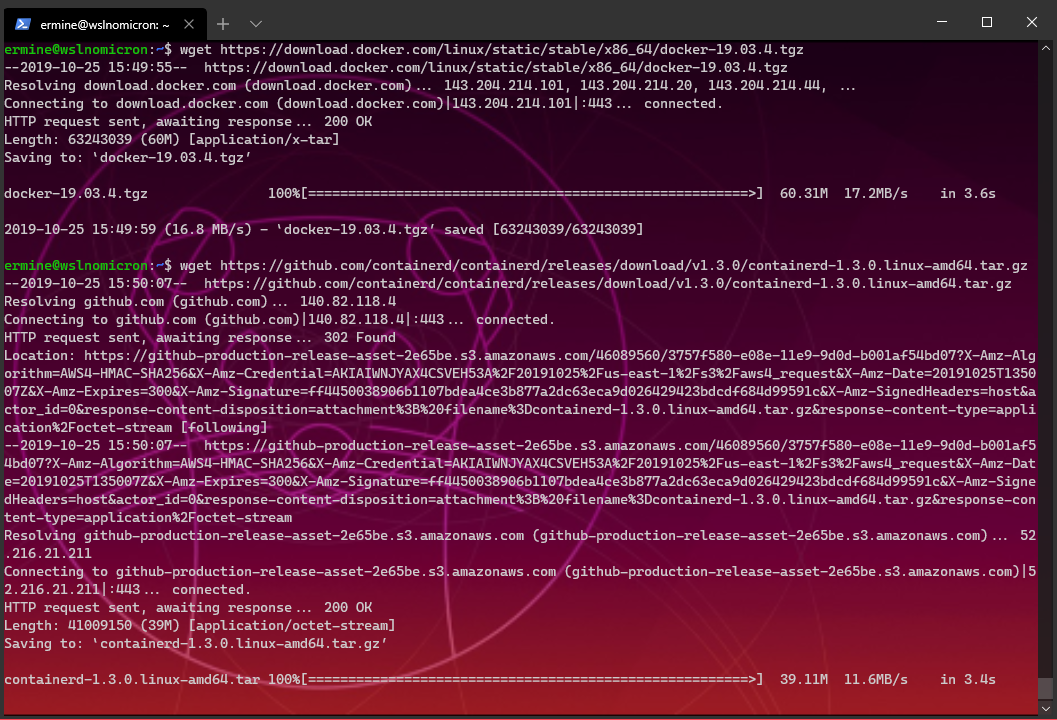
$> wget https://download.docker.com/linux/static/stable/x86_64/docker-19.03.4.tgz
$> wget https://github.com/containerd/containerd/releases/download/v1.3.0/containerd-1.3.0.linux-amd64.tar.gz
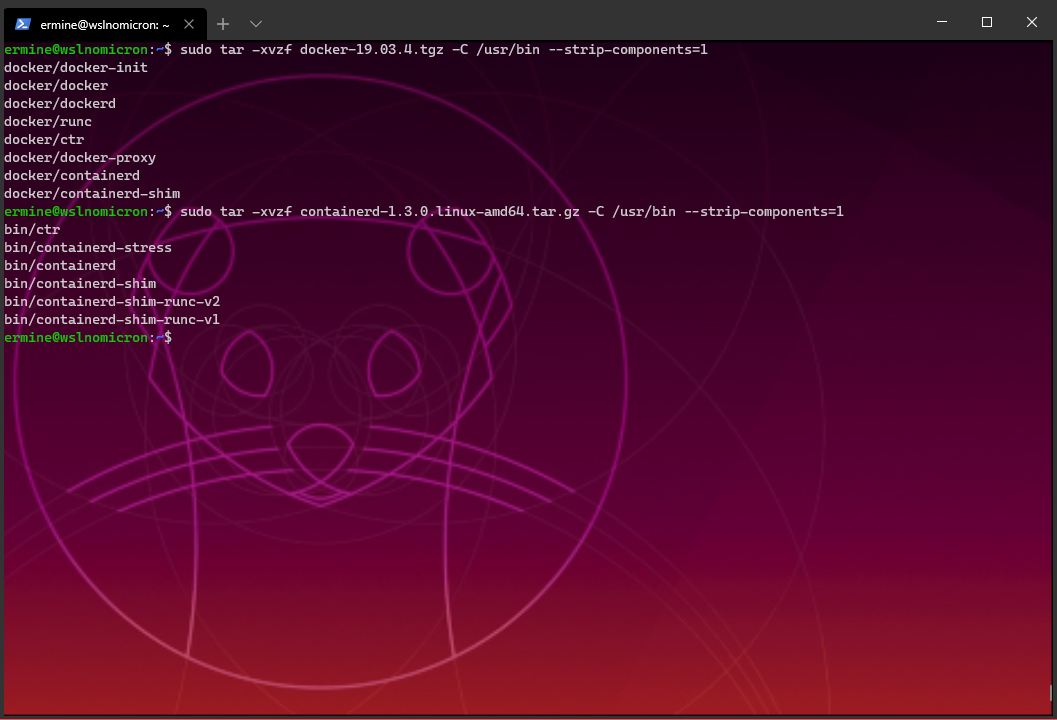
$ sudo tar -xzf docker-19.03.4.tgz -C /usr/bin --strip-components=1
$ sudo tar -xzf containerd-1.3.0.linux-amd64.tar.gz -C /usr/bin --strip-components=1
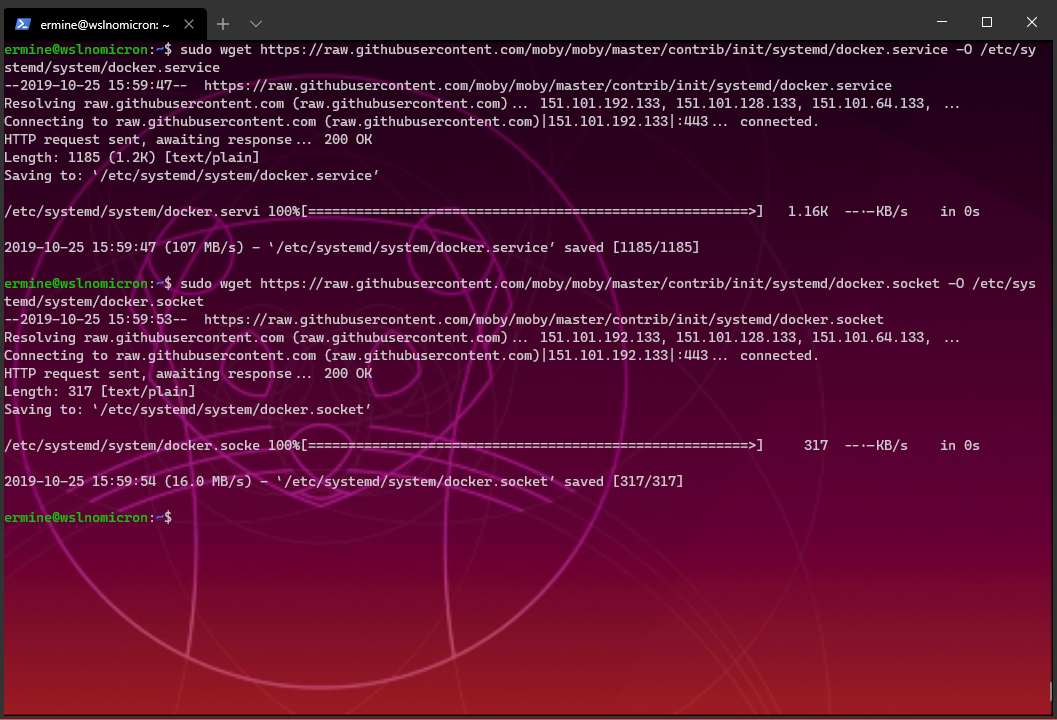
$ sudo wget https://raw.githubusercontent.com/moby/moby/master/contrib/init/systemd/docker.service -O /etc/systemd/system/docker.service
$ sudo wget https://raw.githubusercontent.com/moby/moby/master/contrib/init/systemd/docker.socket -O /etc/systemd/system/docker.socket
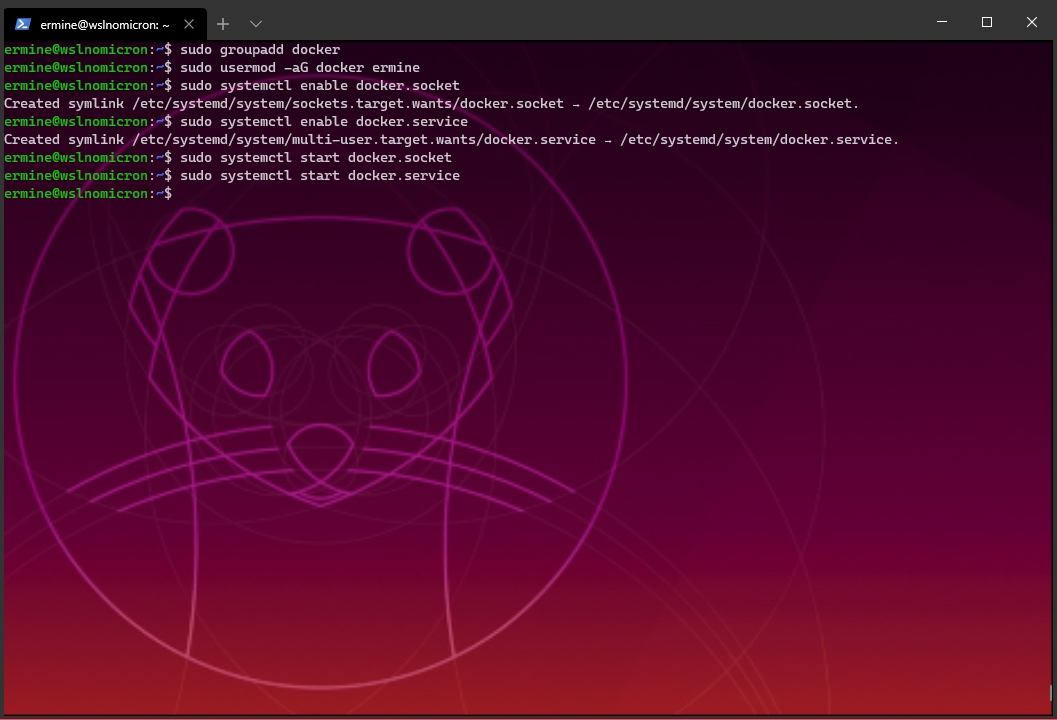
$ sudo groupadd docker
$ sudo usermod -aG docker ermine
$ sudo systemctl enable docker.socket
$ sudo systemctl enable docker.service
$ sudo systemctl start docker.socket
$ sudo systemctl start docker.service
$ exit
PS> wsl.exe --terminate ermine
PS> wsl.exe -d ermine
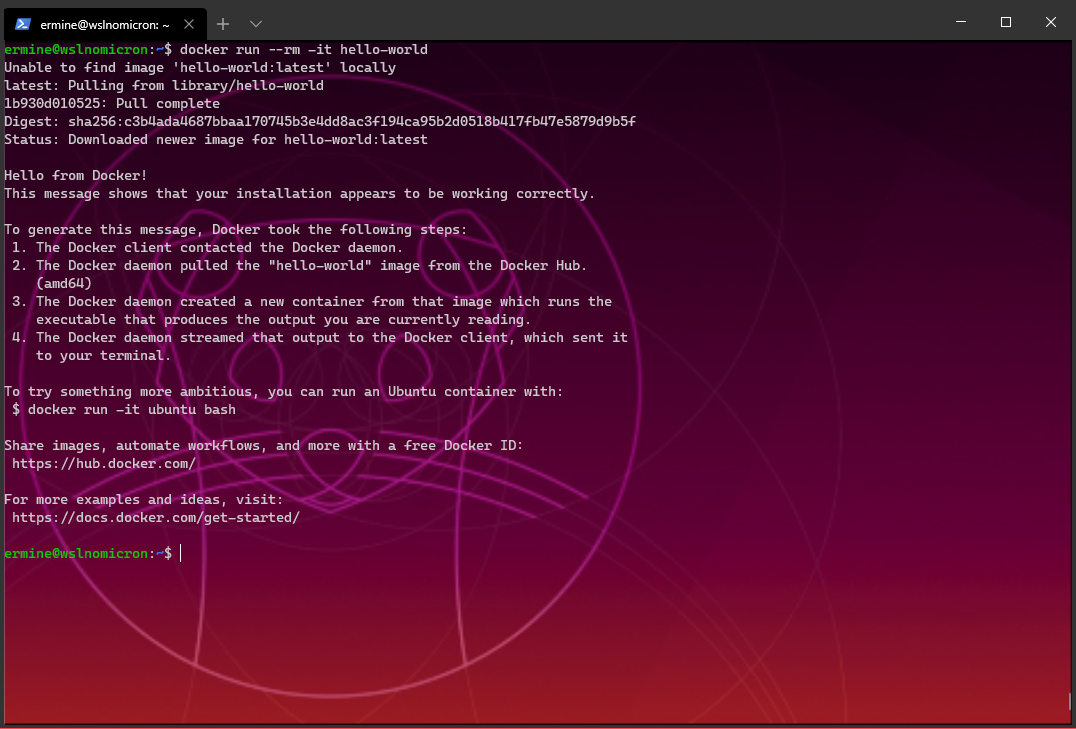
$ docker version
Conclusion
Ok I promised right, no chat -> pure hands-on.
Still, the (huge) learning from this blog post is that Docker really helps getting things started fast. I mean, in a normal case, a simple package install would suffice and everything would have been good to go.
I hope this shorter format will please you, as I might do some more between two bigger blog posts. This will help me adding a bit more context to the "discovery tweets" I do regularly.
Bonus 1: a Snap and Microk8s appears
Now that Docker is up and running, nowadays next step would be to add a Kubernetes context.
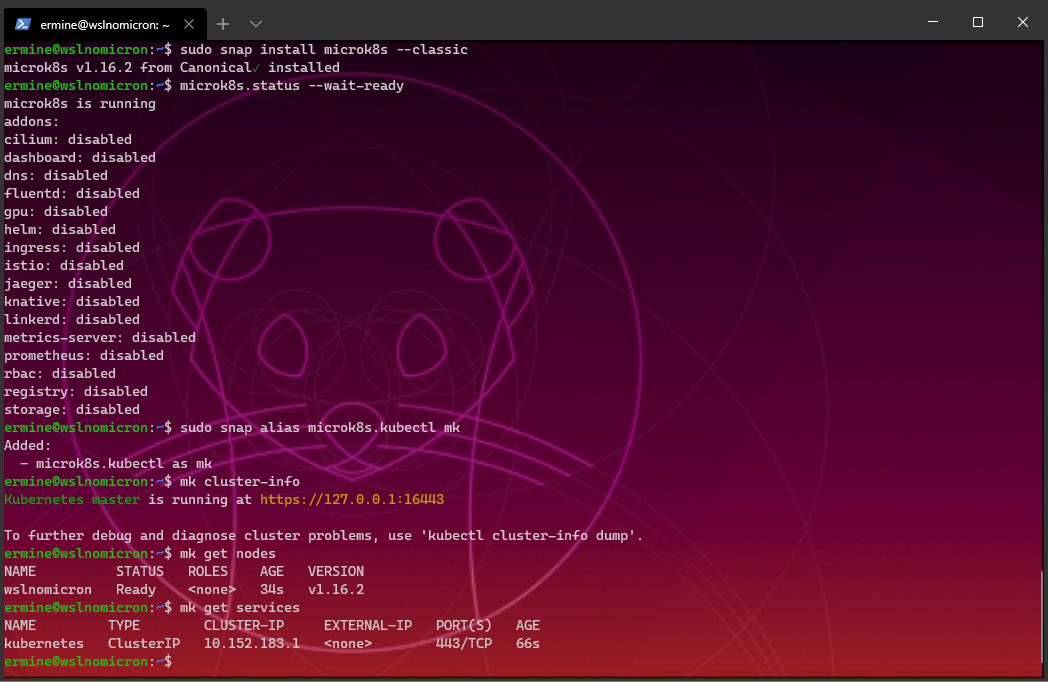
In this first bonus, we will add MicroK8s. To make it easy, let's follow the official guide:
$ sudo snap install microk8s --classic
$ microk8s.status --wait-ready
$ sudo snap alias microk8s.kubectl mk
$ mk cluster-info
$ mk get nodes
$ mk get services
But wait! There's more
The goal is always to have a complete and integrated environment. To achieve that, some additional steps need to be performed.
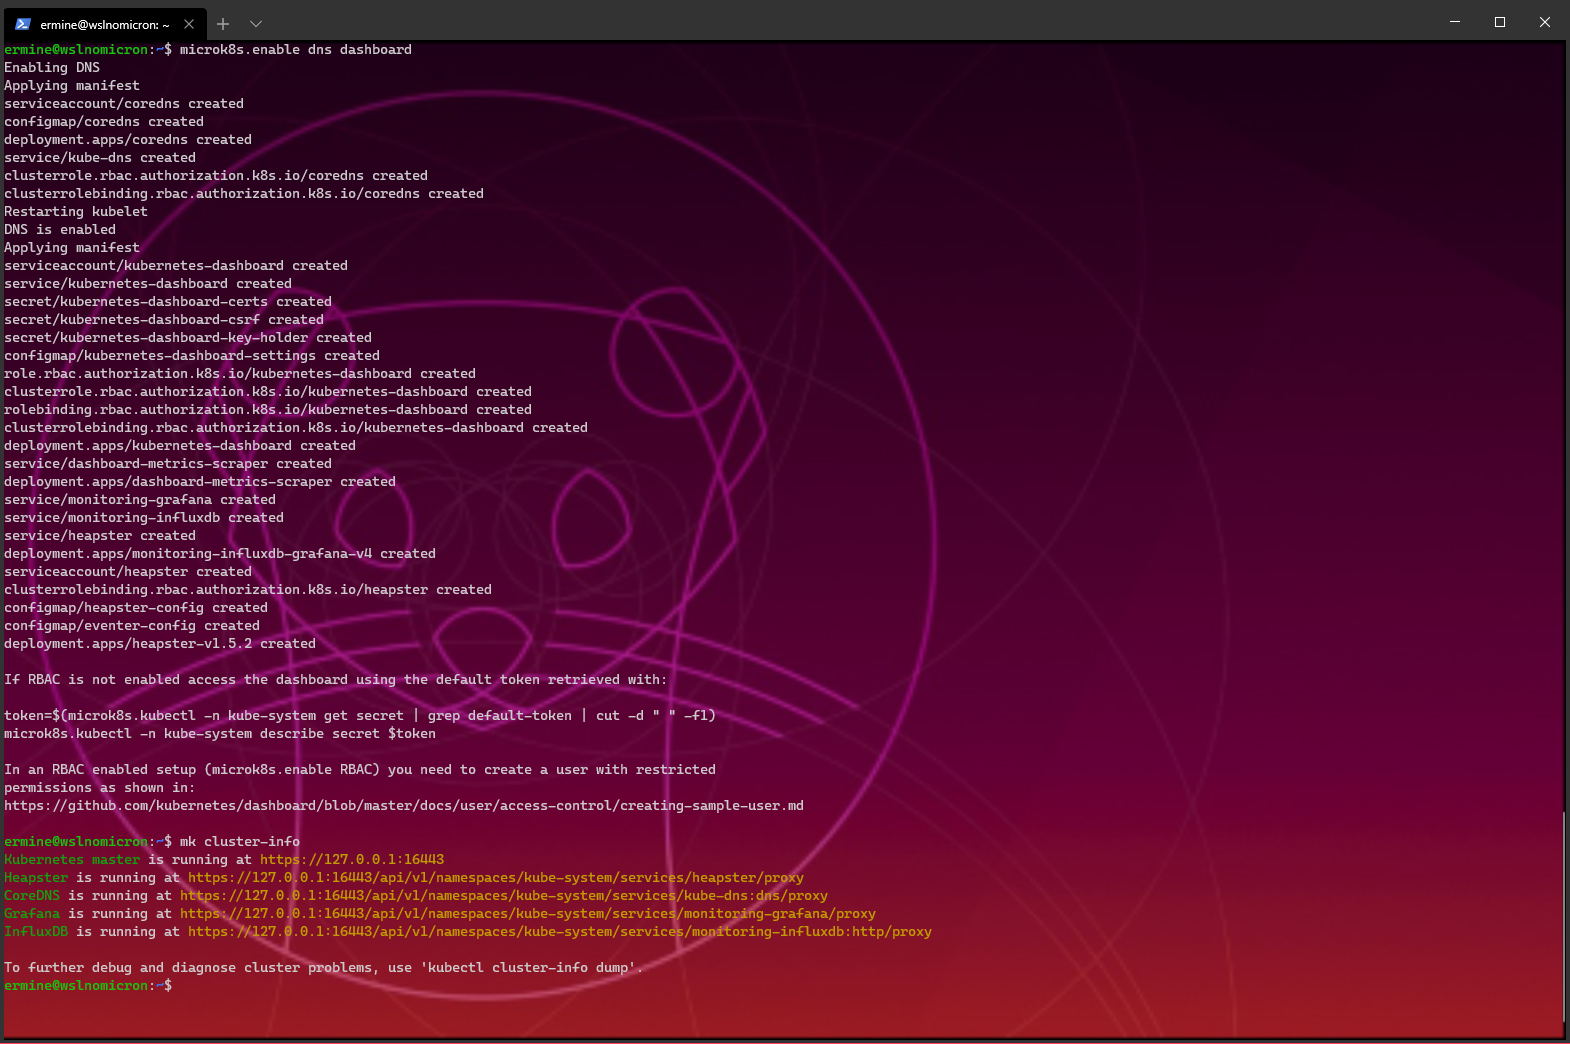
As described in the guide, couple addons should be installed
$ microk8s.enable dns dashboard
$ mk cluster-info
Finally, let's had our cluster as the Docker context endpoint:
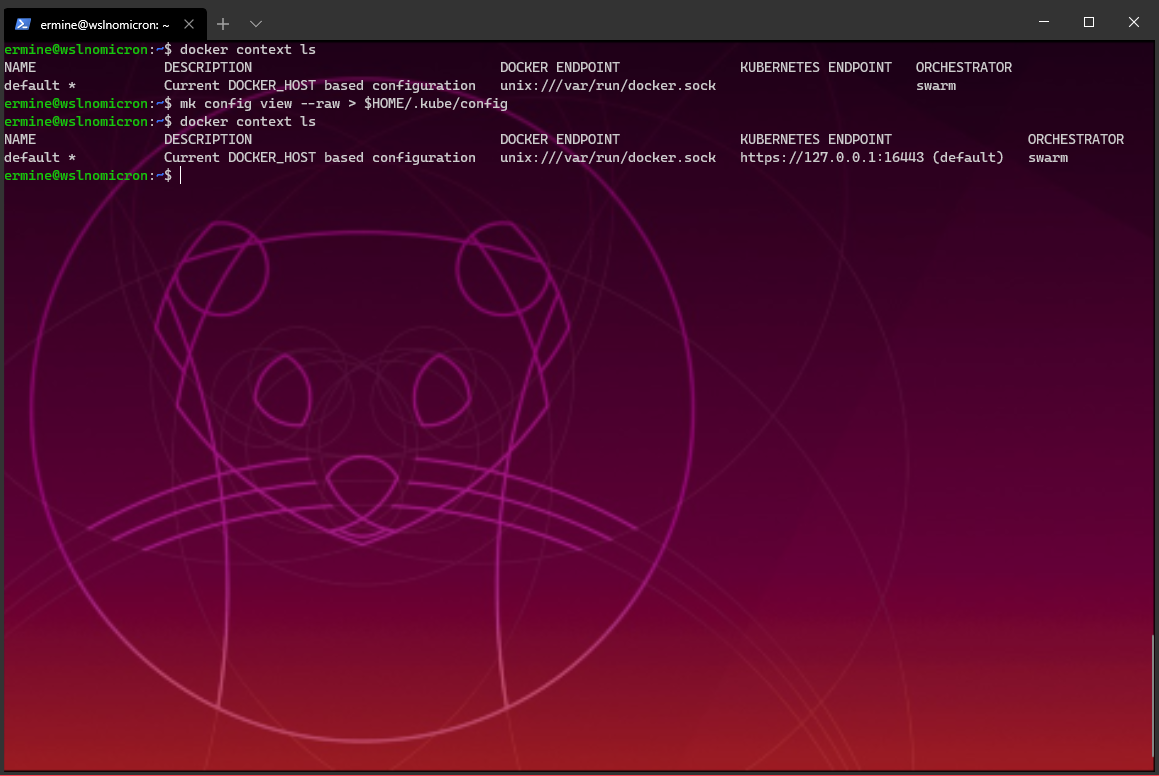
$ docker context ls
$ mk config view --raw > $HOME/.kube/config
$ docker context ls